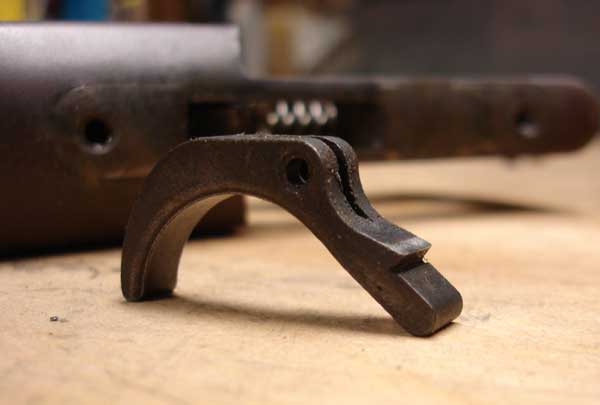
This is a fairly simple job, because we only need to work on the sear on the top of the trigger.
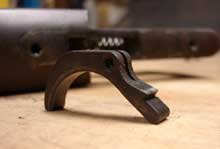
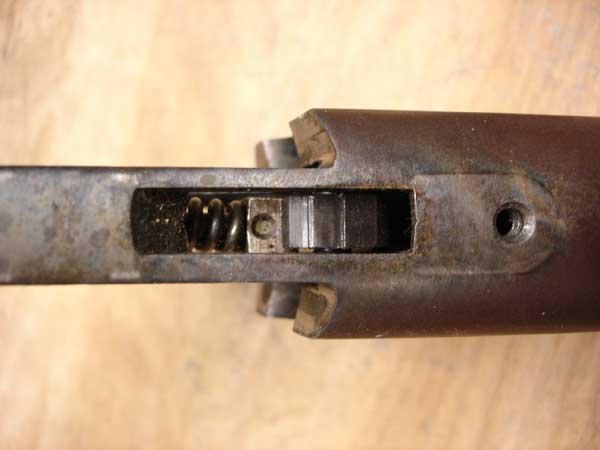
We need not bother the engagement notches on the hammer still inside the frame.
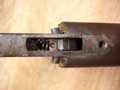
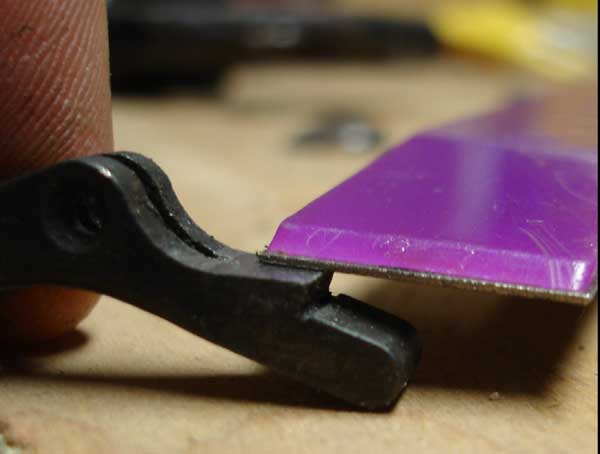
Here's where the real gunsmithing comes in, removing metal. Use your lap or stone to remove metal from the top of the sear. There should be no need to change the geometry or angles of the sear face, and it is best left alone. We are only concerned with the sear height and engagement. This is where your slack and creep comes from.
This where you need to know what you're doing, to get a flat even grind. It's best to remove a little metal, then reinstall the trigger and try the pull. Then repeat the process a little at a time. One of the nice things about doing the work on a model 24 trigger is that there's no need to reinstall the trigger return spring on the trigger to test the pull. The spring is very light and has little effect on actual pull weight. Remember you can't put metal back, and depending on the vintage of your gun, replacement parts may be hard to come by. It might be best to play it safe, rather than try and squeeze a match grade trigger out of your gun.
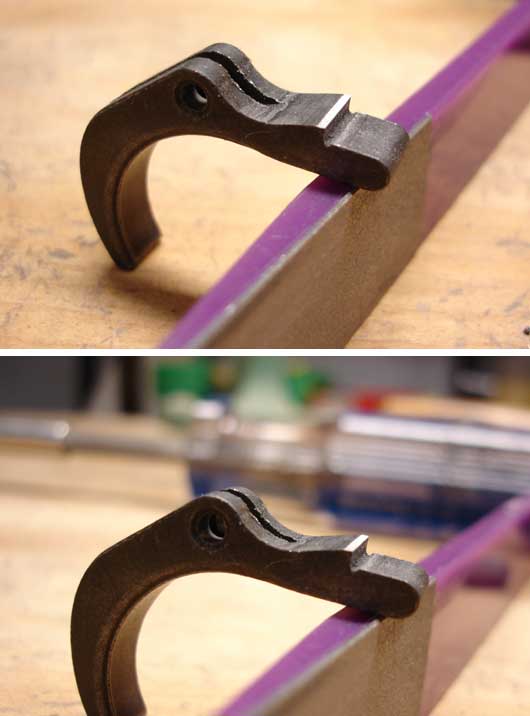
You can see in these photos, I've only adjusted the height of the sear, and made no changes to it's face.

NEXT